
Recipients are the real email addresses where your aliases forward mail. You must add and verify each recipient before you can use it. This article explains how to add a recipient and what to do if verification email does not arrive.
For privacy, consider a dedicated inbox at a privacy-focused provider (e.g. Proton Mail or Tuta).
How to add a recipient
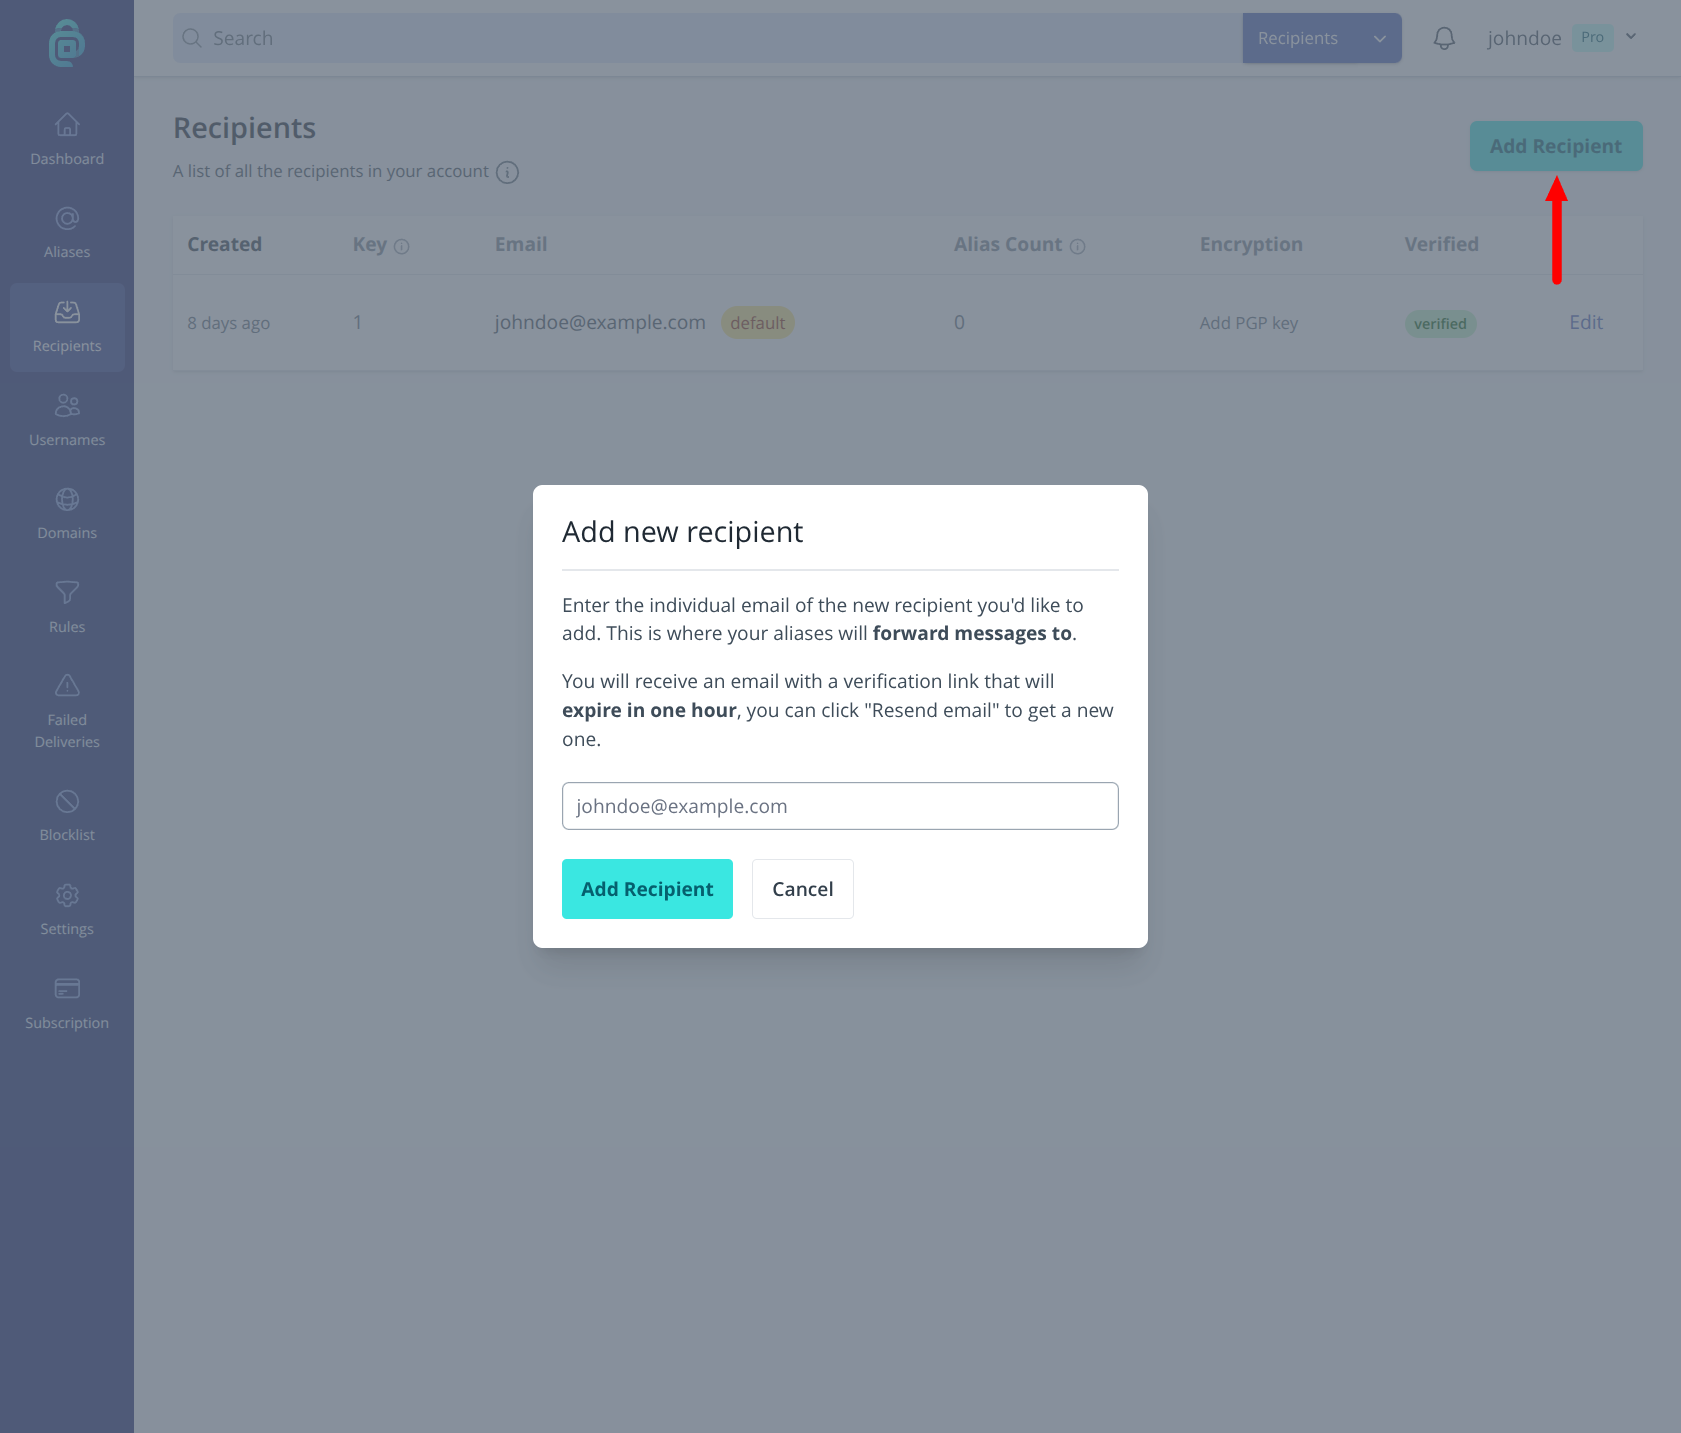
- Log in and go to Recipients in the navigation bar.
- Click Add Recipient.
- Enter the email address you want to add (e.g.
johndoe@example.com) and submit. - Open that inbox and click the verification link in the email from addy.io. The recipient shows as verified in the Verified column.
If you do not receive the verification email
- Check your spam or junk folder.
- On the Recipients page, click Resend email in the Verified column for that address.
Some unfamiliar recipient domains need a second verification step: reply to the first notification email from addy.io. You will then receive a second email with the verification link.
Recipient email addresses are stored encrypted in addy.io's database.