Deactivating email aliases
This article shows you the available options to deactivate an email alias on addy.io. There are currently three ways to deactivate email aliases.
Option 1: From your dashboard
Once logged into addy.io you can click on "Aliases" in the navigation bar. Here you will be shown a list of all your aliases.

To deactivate an email alias all you have to do is toggle the switch in the column named "Active", it will appear greyed out as shown above.
Option 2: From a forwarded email
Each email that is forwarded to you by addy.io will have some information in a banner (unless you have turned this off in your settings).

The banner information looks like the above image, to deactivate the alias all you need to do is click on the link provided.
Note: You need to already be logged in (or you can log in after clicking the link) for the alias to be successfully deactivated
The reason you have to be logged in is to protect you when you reply to a forwarded message and potentially expose your alias' deactivation link to the recipient.
Option 3: From the browser extension
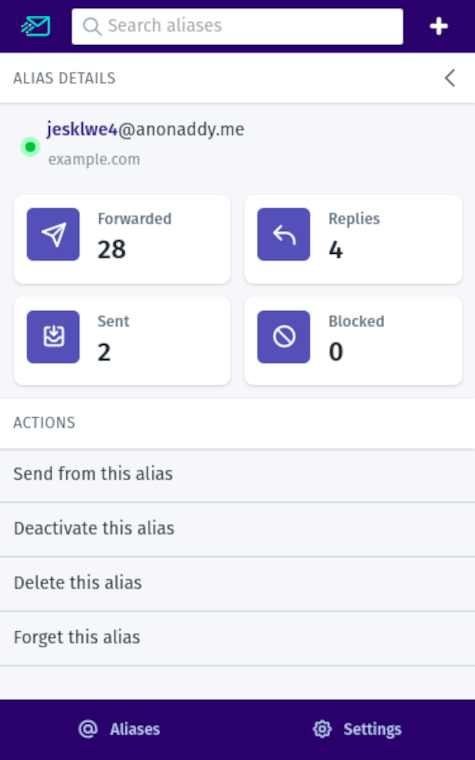
The extension is available for download on Firefox and Chrome. You can click on any alias that is displayed and then click "Deactivate alias".

Option 4: Using one of the mobile apps
Mobile apps for Android:
- addy.io by Stjin on the Play Store
- addy.io by Stjin on the F-Droid
Mobile apps for iOS:
You can deactivate an alias by following the instructions on each app.
Option 5: Using the API
To use the API you first need to generate an Access Token from your account settings. You can then make calls to the available API endpoints to get information and make changes to your data.
API documentation for deactivating an alias is available here - https://app.addy.io/docs/#deactivate-a-specific-alias