
The addy.io browser extension lets you create and manage email aliases without leaving the site you are on. This article explains where to download the extension for Firefox, Chrome, Edge, or Safari, how to install it, and how to sign in so you can generate and manage aliases from your browser toolbar.
Where to get the extension
The addy.io extension is available for the main desktop browsers:
- Firefox - addy.io on the Firefox Add-ons site
- Chrome - addy.io on the Chrome Web Store
- Edge - addy.io on the Microsoft Edge Add-ons site
- Safari - addy.io on the App Store (macOS)
The extension also works in other Chromium-based browsers (e.g. Brave, Vivaldi) via the Chrome Web Store link.
How to install
Firefox
- Open the Firefox add-on page and click Add to Firefox.
- Confirm when Firefox asks to add the extension.
- The addy.io icon should appear in your browser toolbar (you may need to click the puzzle or menu icon to pin it).
Chrome
- Open the Chrome Web Store page and click Add to Chrome (or Use in Chrome if you use another Chromium-based browser).
- Confirm in the dialog that appears.
- The addy.io icon will appear in your toolbar; you can pin it via the puzzle/extensions icon if it is hidden.
Edge
- Open the Edge Add-ons page and click Get (or Add to Edge).
- Confirm when Edge asks to add the extension.
- The addy.io icon will appear in your toolbar; you can pin it from the puzzle/extensions icon if needed.
Safari
- Open the Safari extension on the App Store and click Get or Install to download the app.
- After installation, open Safari and go to Safari > Settings > Extensions (or Preferences > Extensions). Enable the addy.io extension.
- The addy.io icon should appear in the Safari toolbar when the extension is enabled.
Signing in to the extension
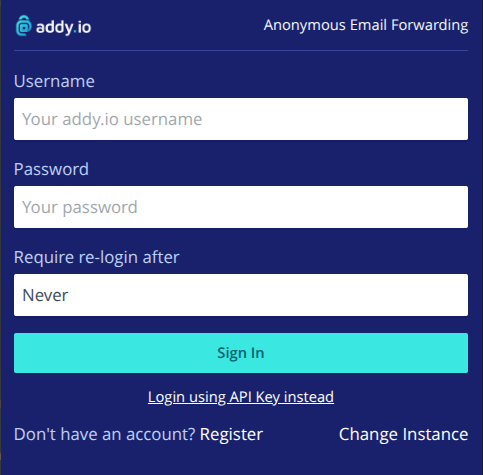
After the extension is installed, click the addy.io icon in your toolbar. You will be asked to sign in with your addy.io username and password, the same credentials you use for app.addy.io. If you have two-factor authentication enabled, enter your code when prompted. You can also sign in by using an API key that you've created on you account.
If you are self-hosting addy.io then you will need to click "Change Instance" to update the instance URL to your self-hosted one.
Once signed in, the extension can create and manage aliases for your account.
What you can do with the extension
With the extension installed and signed in, you can:
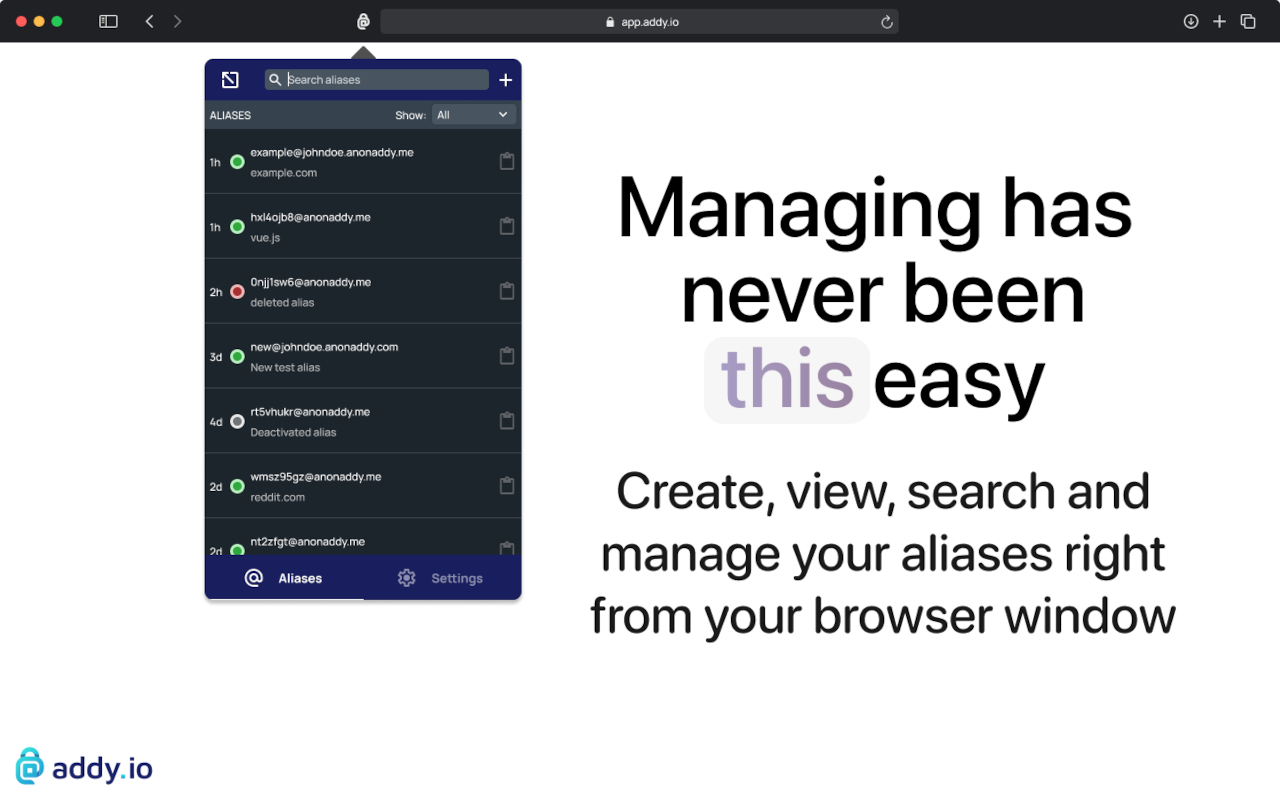
- Generate new aliases - Create random or custom aliases from the extension popup without opening the full website. See Creating new email aliases for alias types and options.
- View and manage aliases - See your aliases, turn them on or off, and deactivate an alias from the extension.
- Quick access - Use the toolbar icon whenever you need an alias (e.g. when filling in sign-up forms).
The extension uses the same account as the web application and mobile app, so changes in one place are reflected everywhere.
Need help?
If you have trouble logging in, see What to do if you have forgotten your username or password. For deactivating aliases from the extension, see Deactivating email aliases.