
Get more from your aliases with rules
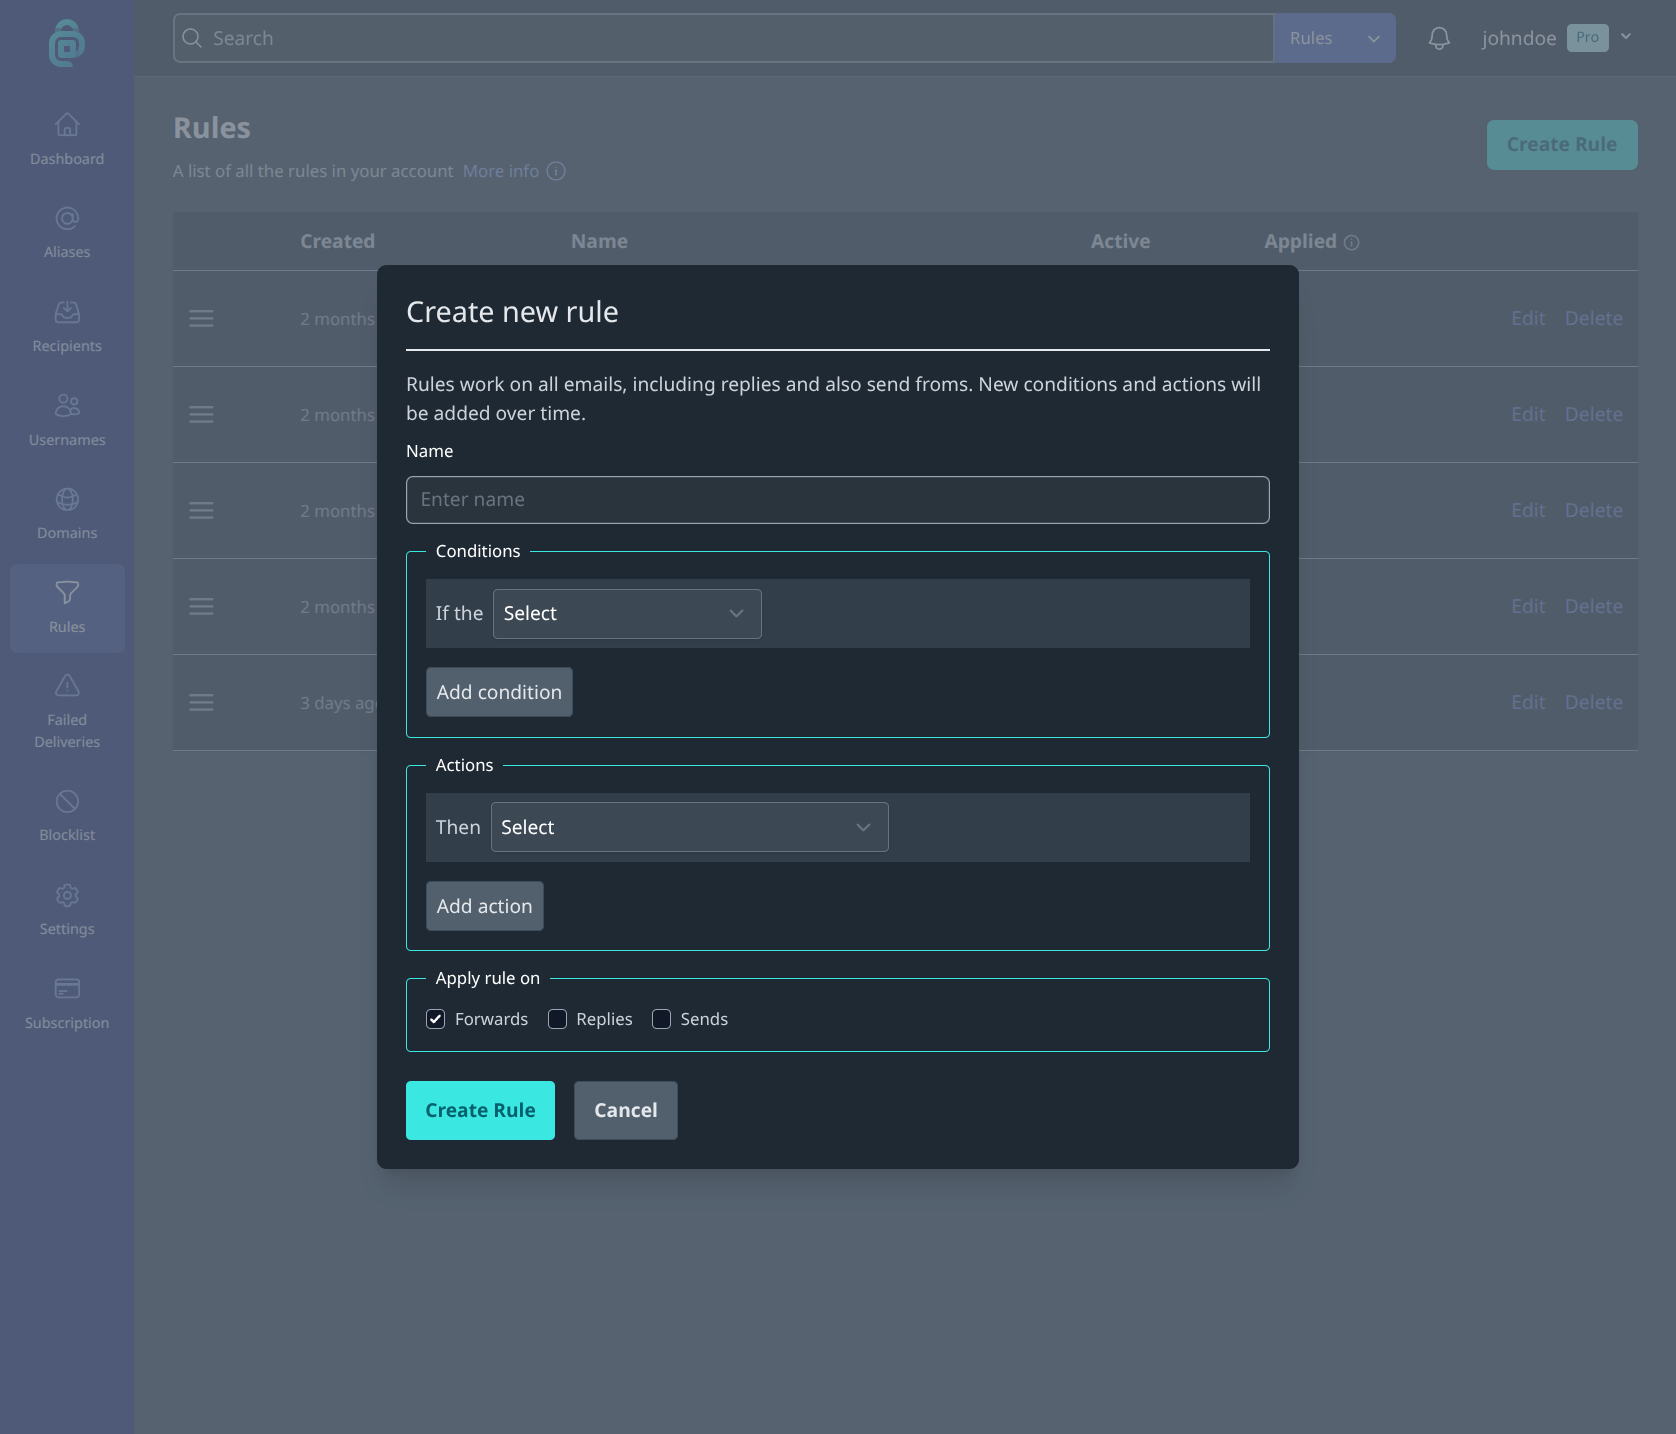
The rules system lets you automate what happens to mail as it arrives. You pick conditions (when the rule should match) and actions (what should happen). Rules can apply to forwards, replies, and/or sends, and they run in the order you set.
Rules have recently gained a lot of new conditions and actions, so this post walks through some practical setups you might find useful. You can create and edit rules from the Rules page in your account at app.addy.io.
1. Label aliases created by catch-all
If you use catch-all, new aliases are created automatically when mail arrives for an address that does not exist yet. That is handy, but it can make it harder to tell which aliases you created on purpose and which appeared because someone emailed a new address.
Condition: alias was created by catch-all
Action: add the label catch-all
Every new catch-all alias gets a consistent label, so you can filter or review them later without hunting through your whole list.
By default aliases that are created by catch-all have a description set to Created automatically by catch-all, so if you would prefer to leave it blank you could also add an action to "set the alias description to" an empty input.
2. Auto-describe newsletter and shopping aliases
When you already know what an alias is for, a description makes it easier to find later (especially with UUID-style aliases).
Condition: alias email contains newsletter (or shop, amazon, and so on)
Action: set the alias description to Newsletter signup (or whatever fits)
You can also add the label newsletter or shopping in the same rule so related aliases stay grouped.
3. Match on email headers (or the lack of them)
The header condition checks whether a named header is present. It does not inspect the header value, only existence. That is still enough for several useful patterns.
Newsletters and mailing lists
Many lists include List-Unsubscribe or List-Id.
Condition: header exists List-Unsubscribe (or List-Id)
Action: add the label newsletter, and optionally set the banner information location to off
Automatic replies and mail loops
Autoresponders often set Auto-Submitted (for example vacation replies). Matching on that can help you avoid noise or reply loops on aliases you use for outbound mail.
Condition: header exists Auto-Submitted
Action: block the email (or quarantine it if you prefer to review first)
Bulk / campaign mail
Large senders often include Feedback-ID on marketing messages.
Condition: header exists Feedback-ID
Action: add the label marketing, or replace the subject with [Marketing] {{subject}}
Unsigned mail
Messages without a DKIM-Signature have not been authenticated with DKIM. That alone does not mean spam, but you may want to treat them more carefully.
Condition: header does not exist DKIM-Signature
Action: quarantine the email, or add the label unsigned
4. Quarantine spam or failed DMARC mail
Instead of letting questionable mail through (or silently blocking everything), you can hold it for review.
Condition: email is spam or email failed DMARC
Action: quarantine the email
Quarantined messages show up with your failed deliveries, so you can check them when you want without cluttering your inbox.
5. Add spam senders to your blocklist
When you are confident a message is junk, you can block it and remember the source so you do not have to deal with it again.
Condition: email is spam (or subject contains a phrase you always treat as junk)
Actions: block the email, and add the sender email to the blocklist
If the same organisation keeps trying from different addresses at one domain, use add the sender domain to the blocklist instead (or as well). That stops future mail from that whole domain earlier via your blocklist.
6. Strip large attachments before forwarding
Huge attachments can be awkward to receive on mobile, or you may simply not want them forwarded.
Condition: email size is greater than 1048576 (1 MB in bytes), or email has attachments
Action: remove attachments
The message body still forwards; the attachments do not. Adjust the size threshold to whatever suits you.
7. Turn PGP encryption off for specific aliases
If you enable encryption on a recipient, every forward to that recipient is encrypted by default. That is great for privacy, but some messages are awkward once wrapped in PGP: calendar invites, certain newsletters, or mail from services that break when the content is encrypted.
Condition: alias email is exactly calendar@johndoe.anonaddy.com (or alias label is exactly no-pgp)
Action: turn PGP encryption off
Only matching aliases skip encryption; everything else to that recipient stays encrypted. Labelling a few aliases no-pgp and matching on the label keeps the rule easy to extend without editing it each time.
8. Route aliases to different recipients
If you use more than one verified recipient (for example a work inbox and a personal inbox), rules can choose which one receives the mail. The forward to action sends matching messages to the recipient you pick, instead of the alias's usual recipient. That keeps separation without setting recipients on every alias by hand.
You can match on a label, or on the alias address itself so new catch-all aliases are routed the first time mail arrives.
Using labels
Condition: alias label is exactly work
Action: forward to your work recipient
Create a second rule for personal (or any other label) pointing at another recipient. Labelling aliases as you create them is enough; you do not need a long list of per-alias recipient overrides.
Using regex (including on-the-fly catch-all aliases)
With catch-all enabled, you can invent a new address as you need it. The first email creates the alias. If a rule matches that address, forward to runs on that first message as well, so you never have to open the alias and attach a recipient.
The alias email condition supports matches regex (and does not match regex). A simple naming scheme in the local-part is enough.
For a work suffix such as amazon-work@johndoe.anonaddy.com or bank-work@yourdomain.com:
Condition: alias email matches regex ^.+-work@
Action: forward to your work recipient
For a personal suffix such as amazon-personal@johndoe.anonaddy.com:
Condition: alias email matches regex ^.+-personal@
Action: forward to your personal recipient
A prefix works the same way. For addresses like work.amazon@johndoe.anonaddy.com:
Condition: alias email matches regex ^work\.
Action: forward to your work recipient
If you use a custom domain or subdomain per inbox (for example @work.example.com and @home.example.com), you can match the domain instead of the local-part:
Condition: alias email matches regex ^.+@work\.example\.com$
Action: forward to your work recipient
(Replace work.example.com with your real domain. The dots in the domain need a backslash so they are treated as literal dots.)
If regex feels heavier than you need, starts with, ends with, or contains often do the same job. For example, alias email ends with @work.example.com, or alias email contains -work@.
Sending a copy to more than one recipient
A single rule can have several forward to actions. Each matching message is sent to every recipient you add (up to 10). That is useful when both people in a household should see mail for a shared alias, without making those aliases use the same default recipient.
If more than one matching rule has forward to actions, the message is sent to every recipient those rules name (still up to 10 in total). Overlapping rules do not pick a winner. Keep work and personal patterns from overlapping unless you want copies in both inboxes. See Changing the order that your rules are applied in.
9. Deactivate an alias after expected mail has arrived
When you sign up somewhere you may only need the confirmation email and a couple of follow-ups. Once those have arrived, you can automatically deactivate that alias so later marketing mail never reaches you.
One approach is to stop the alias after a set number of forwards:
Condition: alias emails forwarded count is exactly 5
Action: deactivate the alias
The forwarded count is checked when the next message arrives. So once an alias has already forwarded 5 emails, the following (6th) message triggers the rule. That triggering message can still be forwarded; the alias is then turned off, and further mail to that address is discarded. Change 5 to whatever limit you want, or use is greater than if you prefer a threshold instead of an exact match.
Another approach is to put a note in the alias description when you create it, then match on that:
Condition: alias description contains verify (or confirm)
Action: deactivate the alias (or delete the alias)
You can also combine both, for example description contains verify and emails forwarded count is exactly 1, so the alias stays active for the confirmation message and is then turned off.
If you would rather remove the alias entirely, use delete the alias instead of deactivate.
10. Block spam that creates a catch-all alias
Spam sometimes lands on a brand-new catch-all address. You can discard that message and avoid keeping a junk alias around.
Conditions (AND): alias was created by catch-all and email is spam
Action: block the email
When a rule blocks mail for an alias that was just created by catch-all, that new alias is removed as well. Legitimate catch-all signups are unaffected; only the combination of a brand-new alias and a spam message is matched.
If you would rather review the message first, use quarantine the email instead of block. Quarantine keeps the new alias; only block removes it.
11. Make forwarded mail easier to filter in your inbox
If your email client filters on the subject, you can rewrite it as mail passes through addy.io.
Condition: alias label is exactly shopping (or alias email contains shop)
Action: replace the subject with [Shop] {{subject}}
The {{subject}} placeholder keeps the original subject and prefixes your own tag, which makes inbox rules on Gmail, Fastmail, Thunderbird, and others much easier to set up.
You can do something similar with the display name that appears in your inbox:
Condition: alias label is exactly work (or alias email contains work)
Action: replace the "from name" with Work
That makes it obvious at a glance which alias a message came through, without relying on the original sender's display name. You can use both actions in the same rule if you want a subject prefix and a clearer from name together.
Tips for getting the most out of rules
- Give each rule a clear name so you remember what it does six months later.
- Rules run in order from top to bottom. Put more specific rules above broader ones when that matters.
- You can combine conditions with AND or OR, and a single rule can have multiple actions.
- Check last applied on a rule to confirm it is matching the mail you expect.
- Rules are available on paid plans. See the pricing section for details.
For step-by-step setup, start with Creating a new rule in the Help Centre.
Feedback and suggestions
If you have any feedback or suggestions please just get in touch and make sure to sign up to the newsletter if you'd like to receive updates on new features!
Thank you for using addy.io.