Once you have created an account and logged in, the next step is to create and test your first email alias. This article walks you through the simplest method-creating an alias on the fly by using it when you sign up somewhere-and shows you how to confirm that emails are being forwarded correctly.
Create your first alias on the fly
The easiest way to create an alias is to use it as soon as you need it. You do not have to generate it in addy.io first.
- Choose where you will use the alias - For example, signing up for a newsletter or creating an account on a website (e.g. example.com).
- Make up an alias address - Use your addy.io username in the format something@yourusername.anonaddy.com (or yourusername.anonaddy.me). The part before the @ can be anything you like, e.g. the site name: example@johndoe.anonaddy.com.
- Enter that address when the site asks for your email (sign-up form, newsletter field, etc.).
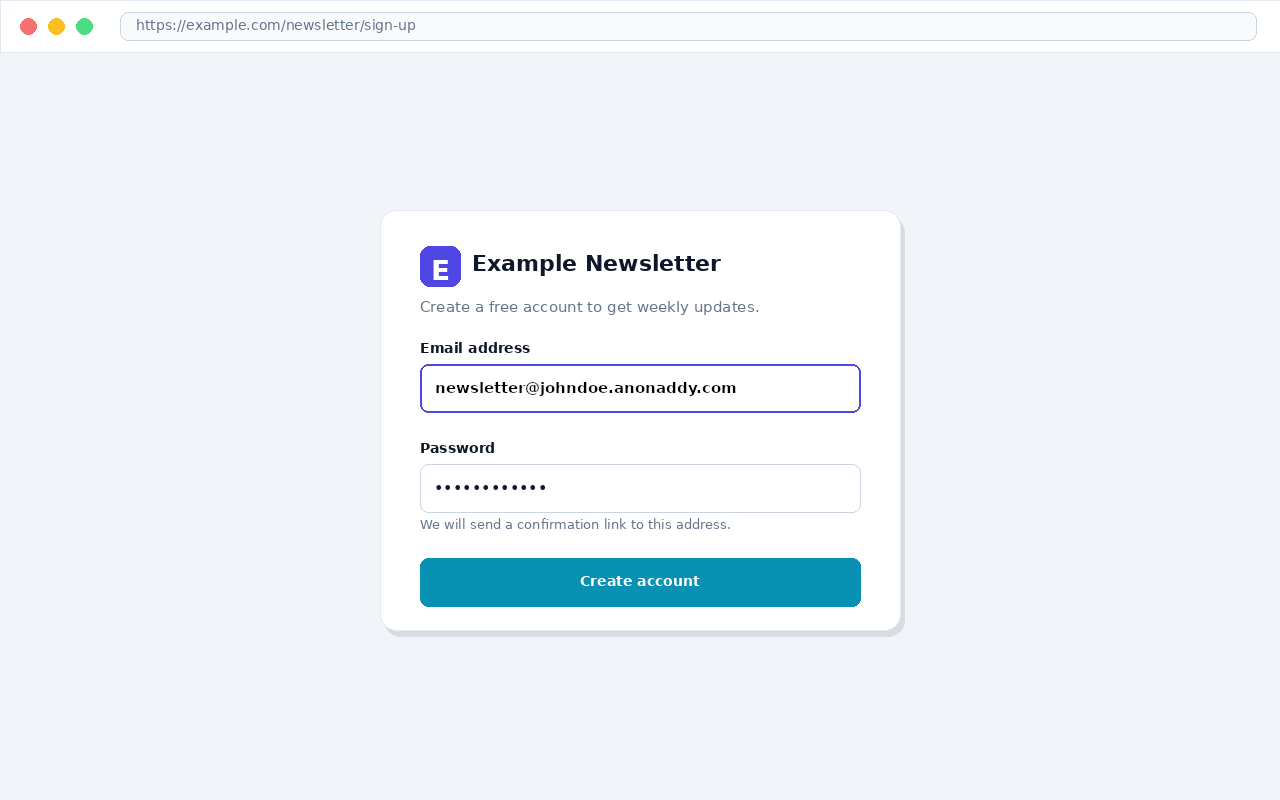
- Complete sign-up or submit the form as usual. addy.io will create the alias automatically when the first email is sent to that address and forward it to your recipient (the real email you added to your account).
See your new alias in the dashboard
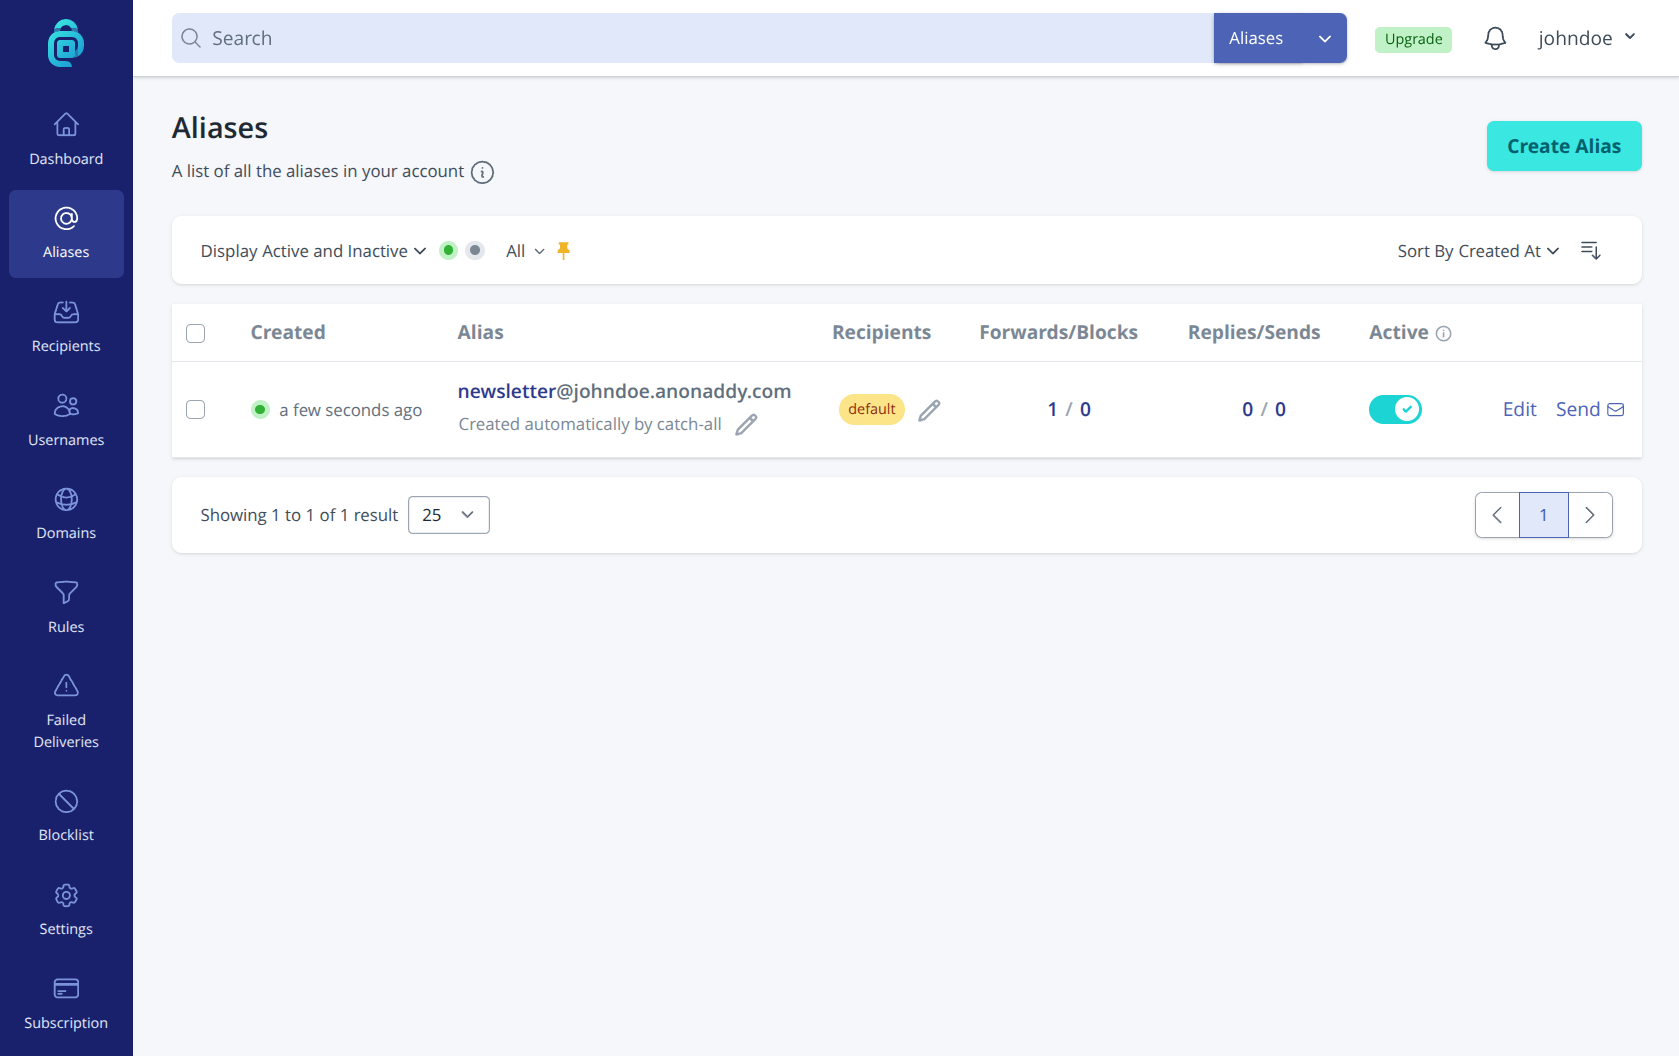
After the first email is sent to your new alias (e.g. the verification email from the site you signed up with), the alias will appear in your addy.io dashboard. Go to Aliases in the navigation bar to see it listed there. You can use the same alias again anytime for that service, or create more aliases the same way for other sites.
Test that forwarding works
To confirm that forwarding is working:
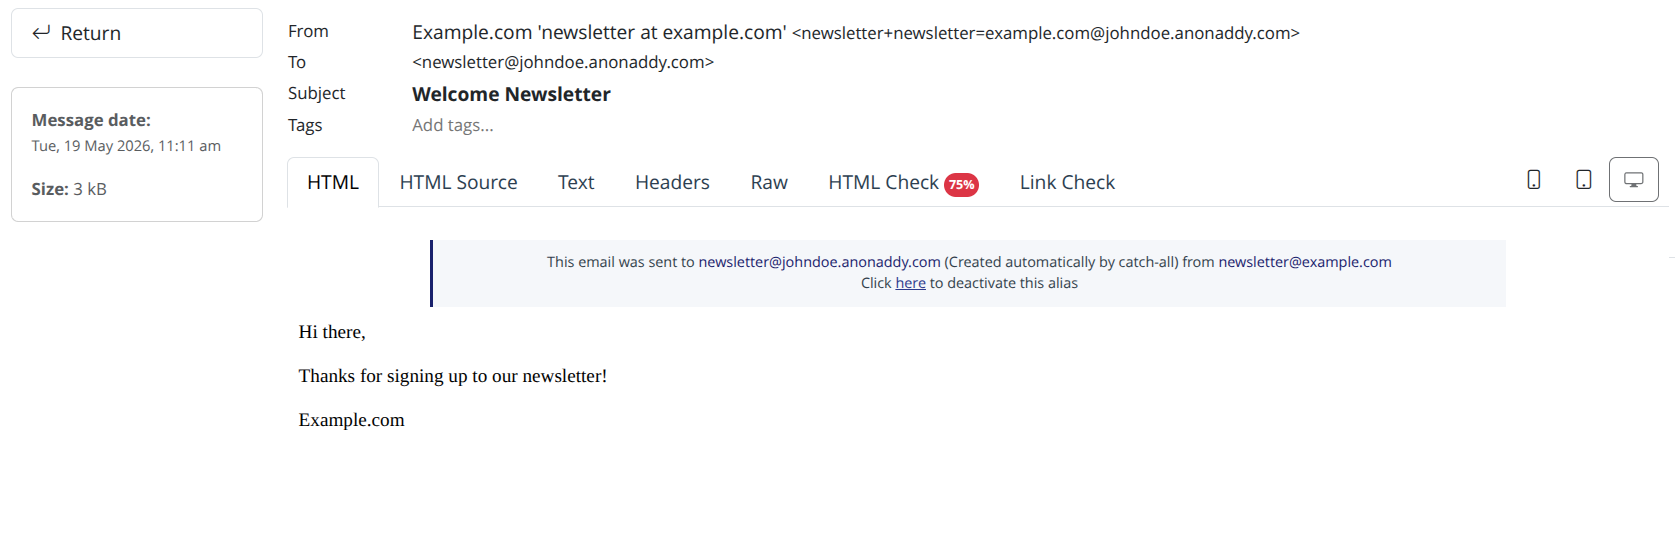
- Check your real inbox - The email that was sent to your alias (e.g. the verification or welcome email) should have been forwarded to the recipient address you set up on addy.io. Open that inbox and look for the message. You may need to check your spam folder for the first forward or so. If the email is in your spam folder, please mark as "not spam".
- Check the dashboard - In addy.io, open Aliases and find your new alias. The forward count should show that at least one email was received and forwarded.
If the email arrived at your recipient address, your first alias is set up and working. You can now use different aliases for different services to keep your real email private. For more ways to create aliases (including random or shared-domain aliases), see Creating new email aliases.
What next?
- Add more recipients if you want to send different aliases to different addresses.
- Use the browser extension or mobile app to create and manage aliases on the go.
- If you no longer need an alias, you can deactivate or delete it from your dashboard.