
General settings control your account-wide preferences, such as the web app theme, updating your email address, which domain and format are used when you create a new alias, and whether addy.io blocks tracking pixels in forwarded emails. This article explains where to find these options and how to change them. For password and two-factor authentication, see Security settings; for API keys, see API Settings.
Where to find General Settings
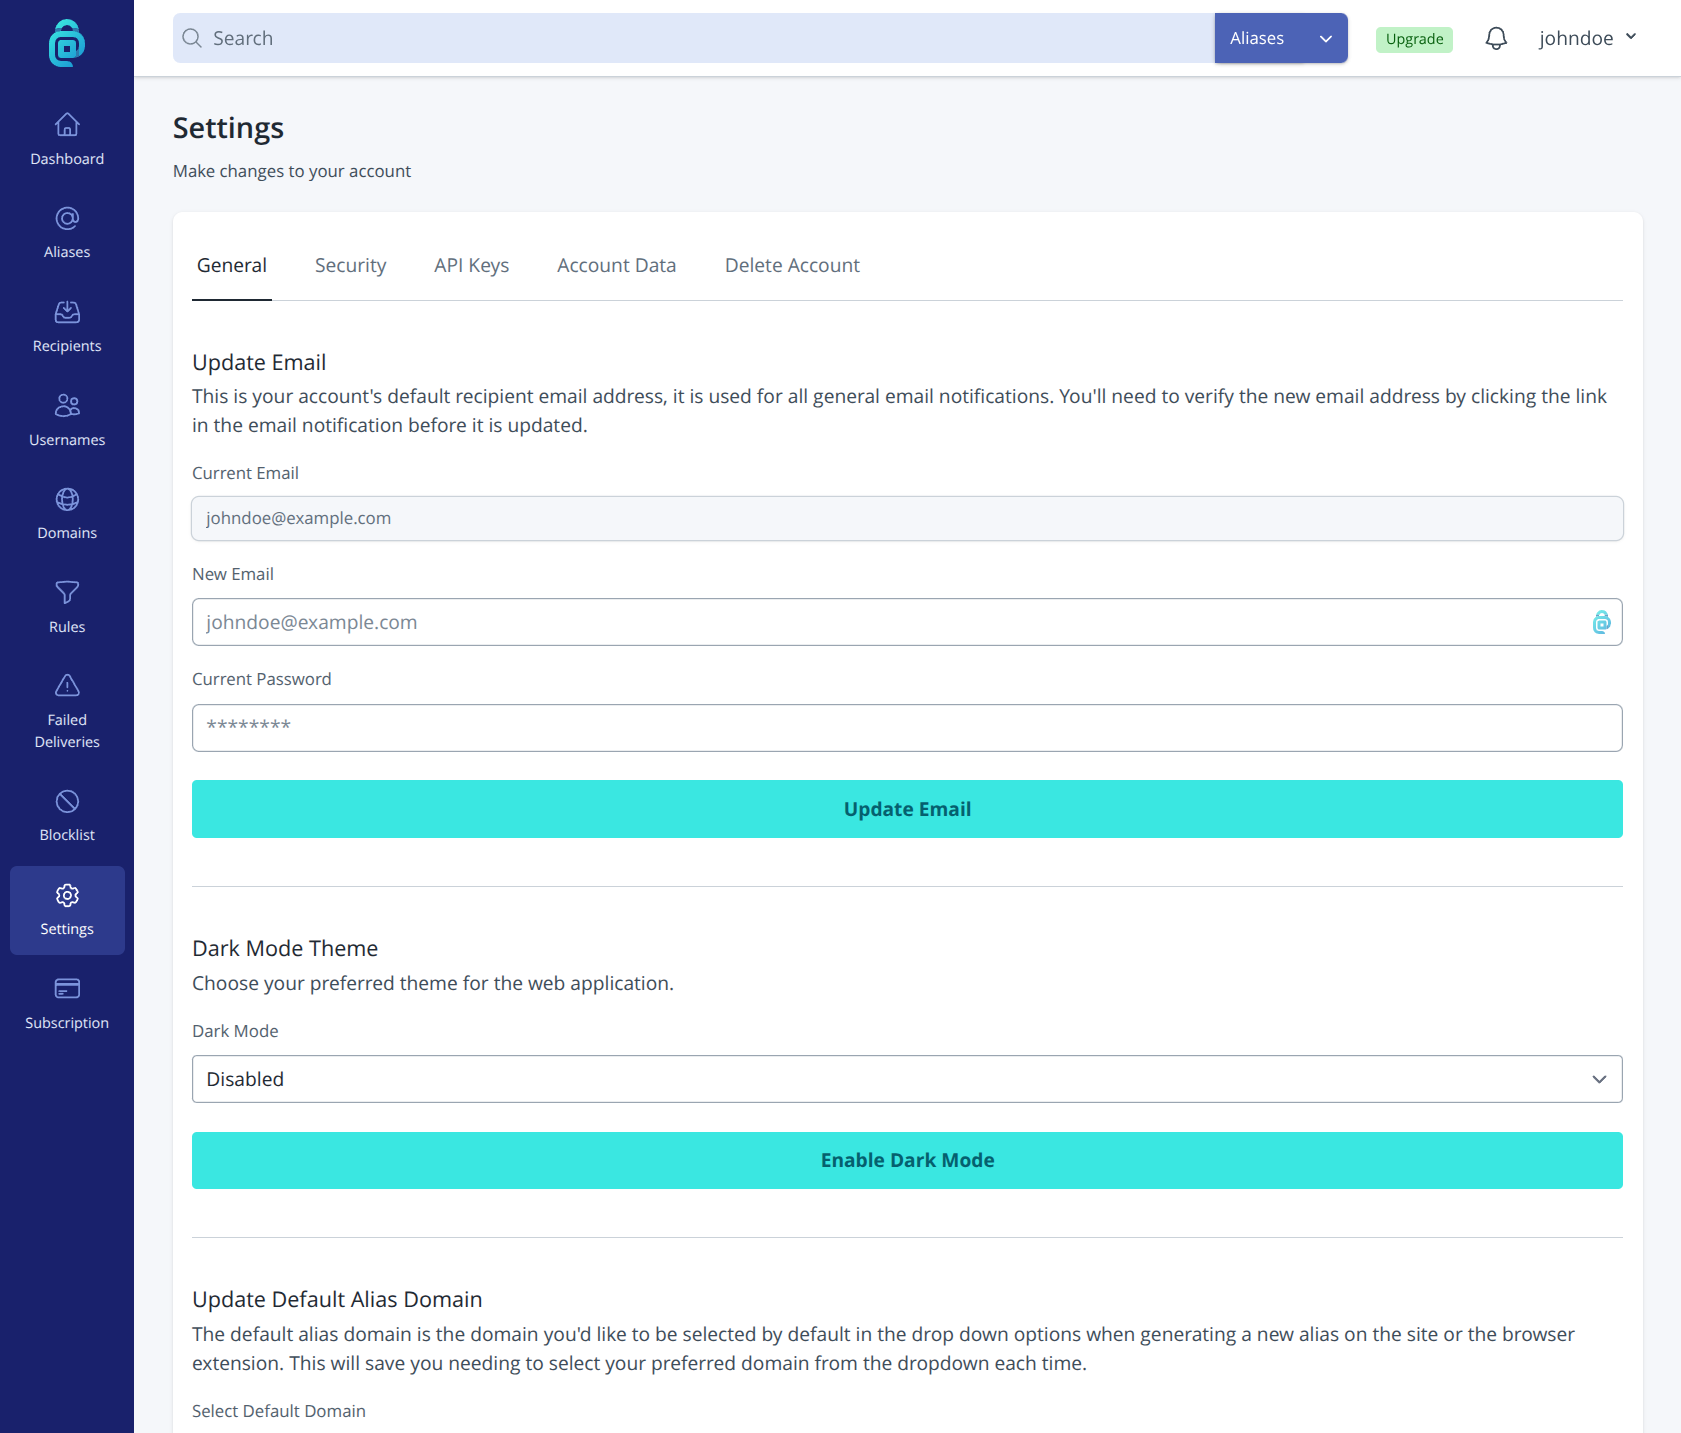
After logging in, click on Settings in the navigation bar.
Updating your account's email
Your account has an email address that addy.io uses for account-related messages (for example, password reset links and username reminders). This is usually one of your verified recipient addresses.
To change which email is used for these account emails:
- Open Settings.
- Find the Update Email section.
- Enter your new email and confirm your account password (this is for security).
- Click the "Update Email" button.
- Click the verification link in the email that is sent to your new address.
Account and recovery emails will then be sent to the address you specified. Make sure you can access that inbox.
Default alias domain and format
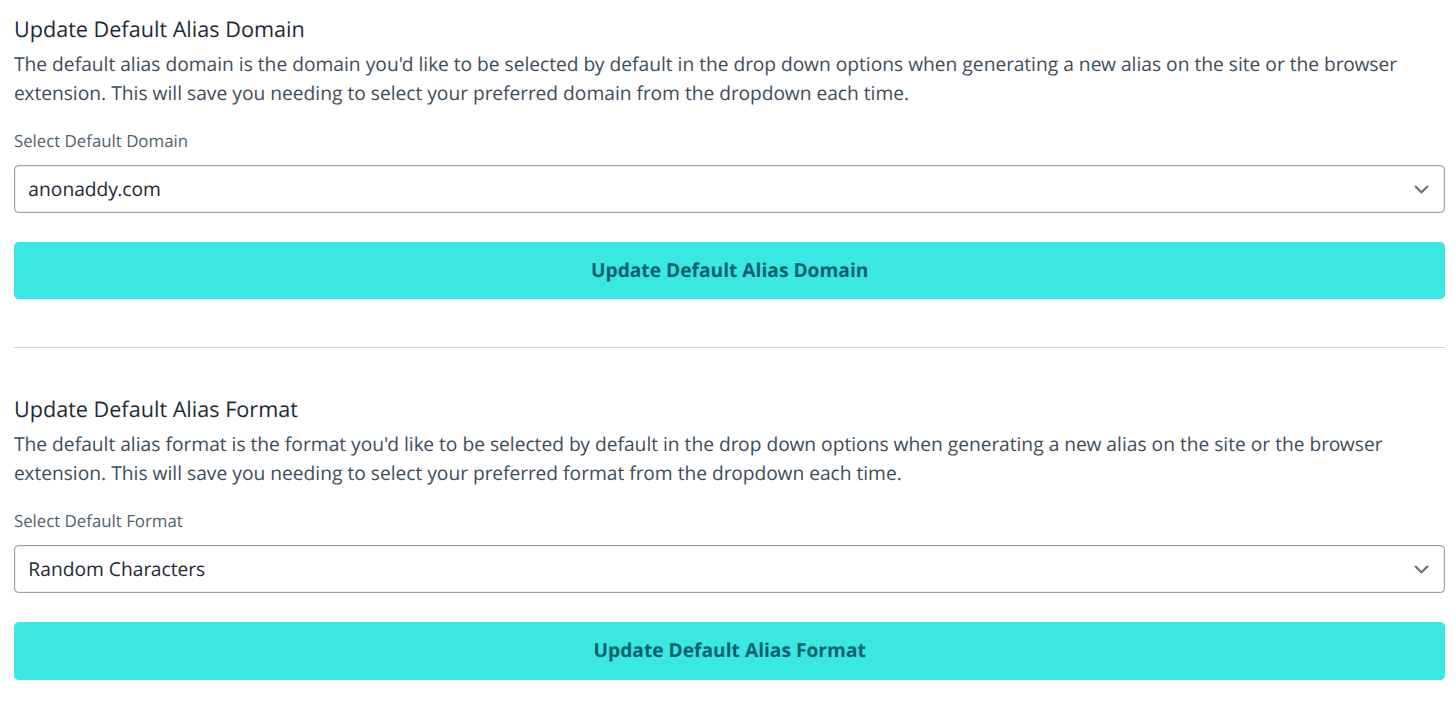
When you click Generate New Alias on the website or in the browser extension, addy.io can remember your preferred default alias domain and default alias format. That way the next alias you generate uses those options automatically.
- Default alias domain - The domain part of the new alias (e.g. your username subdomain like johndoe.anonaddy.com, a custom domain, or a shared domain like anonaddy.me).
- Default alias format - The local-part style (e.g. Random Characters, Random Words, Custom, or UUID). See Terminology for format examples.
To set or change these:
- In General settings, find Default alias domain and Default alias format.
- Select the domain and format you want as the default.
- Save your changes.
The next time you generate an alias, the modal will pre-fill with these defaults; you can still change them for that alias if you like. For more on creating aliases, see Creating new email aliases.
Block Tracking Pixels
On Lite and Pro, Block Tracking Pixels removes known tracking pixels from forwarded HTML emails so senders cannot tell when you opened a message. The setting is enabled by default.
To turn it on or off:
- Open Settings.
- Stay on the General tab and scroll to Block Tracking Pixels.
- Select Enabled or Disabled.
- Click Update Block Tracking Pixels.
If anything is blocked, the forwarded email banner includes a View report link. For what is removed, plan limits, and how the report works, see Blocking tracking pixels in forwarded emails.
Other general options
Depending on your plan and preferences, you may see other options in general settings. If you do not see a particular setting, it may be under Security settings or API Settings. For subscription and billing, use the subscription section of your account.